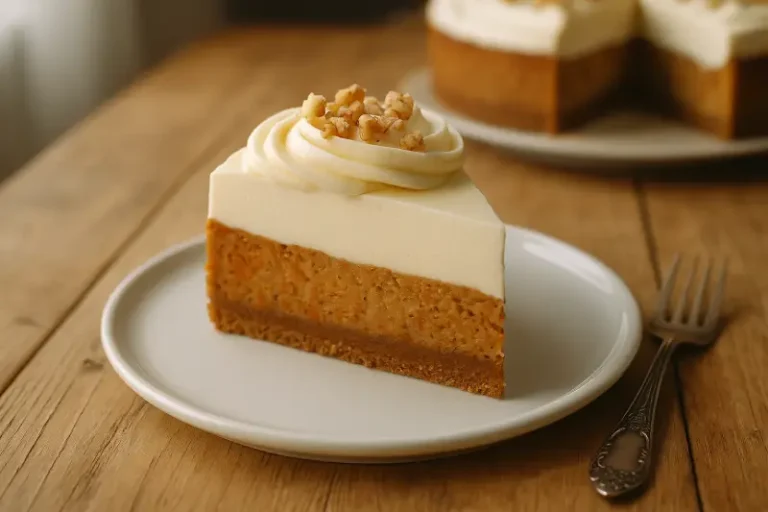

Have you ever wondered why that slice of New York cheesecake at your favorite bakery tastes so much better than the one you make at home? What if I told you that achieving that same creamy, rich texture and perfect flavor isn’t just bakery magic, but the result of a few simple secrets? Many home bakers miss these crucial steps, but today, I’m spilling all the details!
Overview: What Makes This New York Cheesecake Special
This classic New York cheesecake recipe brings restaurant quality right to your kitchen. Dense, creamy, and with that signature tang, this cheesecake stands apart from other versions. While it does require about 2 hours of prep and bake time (plus cooling), the effort is mostly hands-off. The difficulty level is moderate—perfect for someone who has baked a few times before but certainly not out of reach for beginners who follow these instructions carefully.
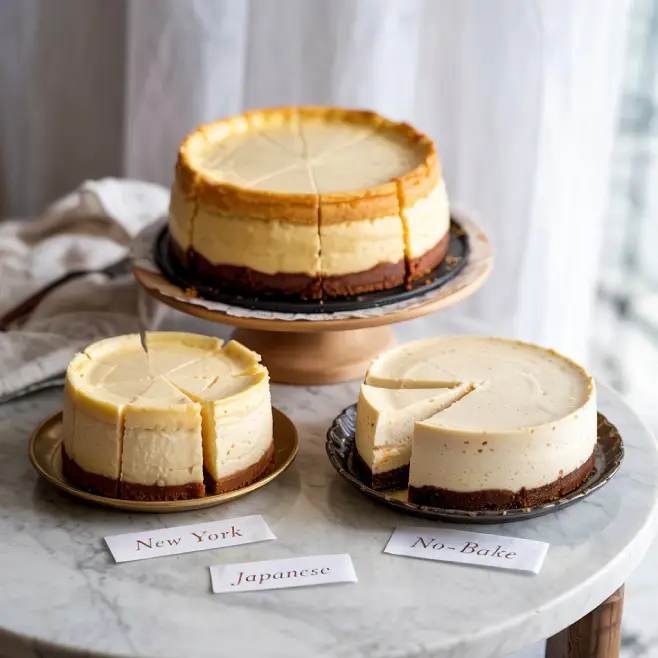
What makes this recipe special is the 7 secret techniques that professional bakers use. These little tweaks make all the difference between an okay cheesecake and a spectacular one!
Secret #1: Room Temperature Ingredients Matter
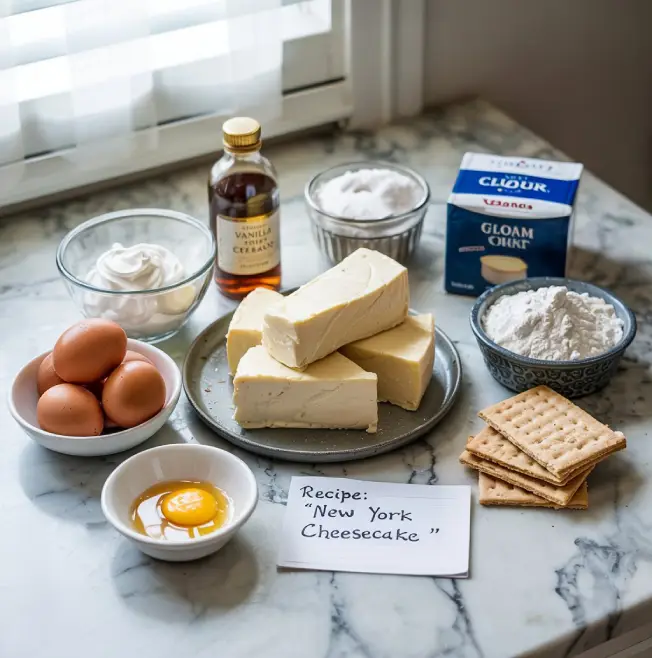
New york cheesecake Essential Ingredients
For the crust:
- 2 cups graham cracker crumbs
- 3 tablespoons sugar
- 6 tablespoons melted butter
For the filling:
- 4 packages (8 oz each) cream cheese
- 1¼ cups sugar
- 3 tablespoons all-purpose flour
- 4 large eggs
- ¾ cup sour cream
- 1 tablespoon vanilla extract
- Zest of one lemon
The first secret is using room temperature ingredients—especially the cream cheese and eggs. Cold ingredients don’t blend smoothly and can lead to lumps. Take your cream cheese and eggs out of the fridge at least 1 hour before starting.
Why this works: Room temperature cream cheese whips up fluffier and blends more thoroughly with other ingredients. Room temperature eggs incorporate air better, helping create that perfect texture.
Substitutions: If you’re in a pinch, you can put the wrapped cream cheese in warm water for 10 minutes to speed up the warming process.
Secret #2: The Perfect Crust-to-Filling Ratio
Getting the right balance between crust and filling is crucial. Many recipes have too thin a crust that gets soggy, or too thick a crust that overpowers the filling.
Why this works: Our 2:6 ratio of graham cracker crumbs to butter creates a crust that’s firm enough to hold together but not so hard it’s difficult to cut through.
Variation tip: Try using vanilla wafers or gingersnap cookies instead of graham crackers for a different flavor profile.
Secret #3: The Flour Trick
Adding a small amount of flour to your cheesecake batter might seem strange, but it’s a game-changer.
Why this works: The 3 tablespoons of flour in this recipe helps prevent cracking by stabilizing the eggs and providing structure to your cheesecake.
Substitution: You can use cornstarch instead of flour for a gluten-free option.
Step-by-Step Instructions
Preparing the Crust
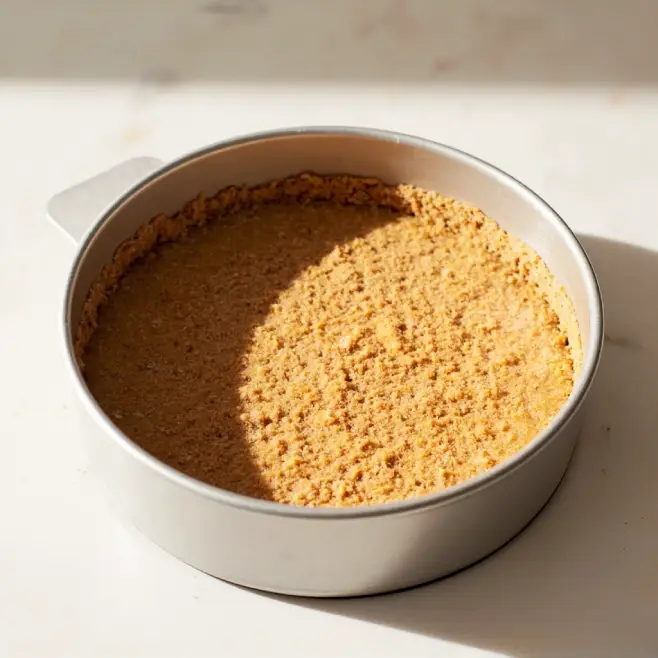
- Preheat your oven to 350°F (175°C).
- Mix the graham cracker crumbs and sugar in a bowl.
- Pour in the melted butter and stir until the mixture resembles wet sand.
- Press the mixture firmly into the bottom and slightly up the sides of a 9-inch springform pan.
- Bake for 10 minutes, then remove and let cool while preparing the filling.
- Lower the oven temperature to 325°F (165°C).
Tip: Use the bottom of a measuring cup to press the crust firmly and evenly into the pan.
Secret #4: The Mixing Method
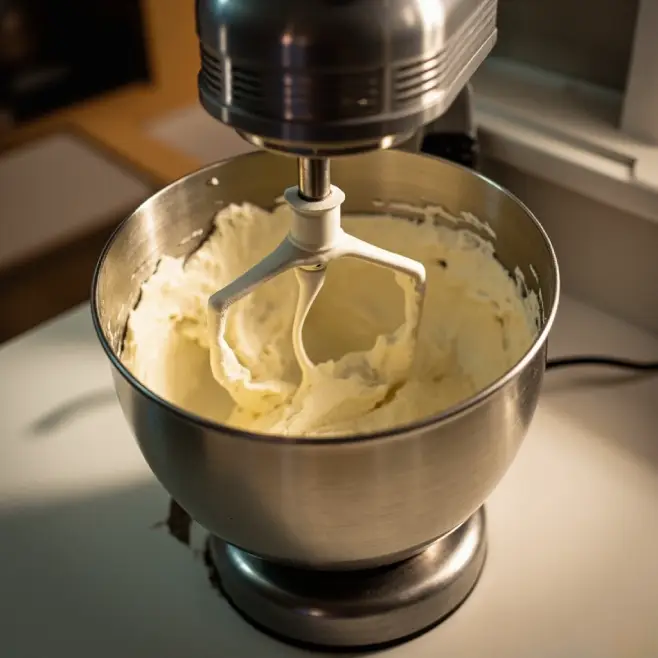
- In a large bowl, beat the cream cheese on low speed until completely smooth with no lumps.
- Add the sugar gradually, beating on low speed. Scrape down the sides of the bowl.
- Mix in the flour until just combined.
- Add eggs one at a time, mixing on low speed after each addition until just combined.
- Stir in the sour cream, vanilla extract, and lemon zest.
Why this works: Mixing on low speed prevents incorporating too much air into the batter, which can cause cracks. Adding ingredients gradually ensures everything blends perfectly.
Tip: Scrape down the sides and bottom of the bowl after each addition to ensure no lumps remain.
Secret #5: The Water Bath
- Wrap the outside of your springform pan with two layers of heavy-duty aluminum foil, ensuring no water can seep in.
- Place the wrapped pan in a larger roasting pan.
- Pour the cheesecake filling into the crust.
- Fill the roasting pan with hot water until it reaches about halfway up the sides of the springform pan.
Why this works: The water bath creates a humid environment and ensures even, gentle heating, which prevents cracking and creates that silky-smooth texture.
Tip: If you’re worried about leaks, you can place your springform pan inside a slightly larger regular cake pan, then place that inside the water bath.
Baking
- Carefully place the water bath with the cheesecake in the oven.
- Bake for 55-60 minutes. The edges should be slightly puffy and light golden, but the center should still be a bit jiggly.
- Turn off the oven and crack the door open about an inch.
- Let the cheesecake cool in the oven for 1 hour.
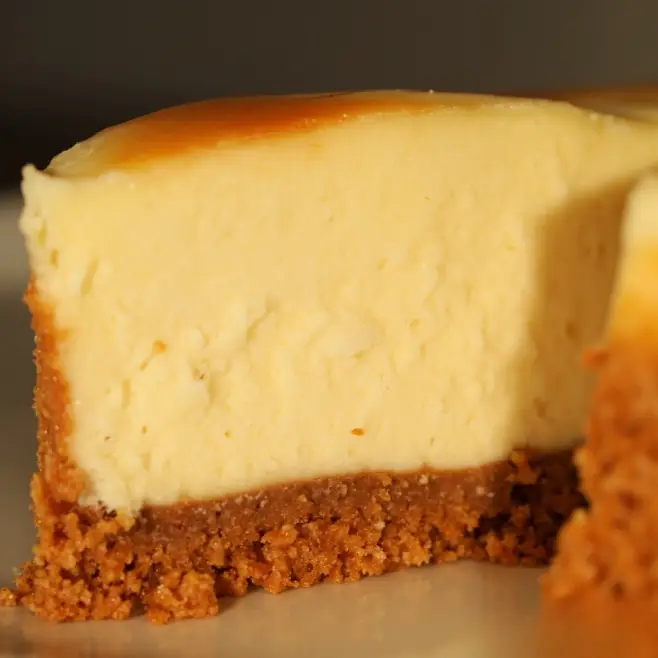
Secret #6: This gradual cooling prevents the dramatic temperature change that causes cracking.
Assembly and Presentation
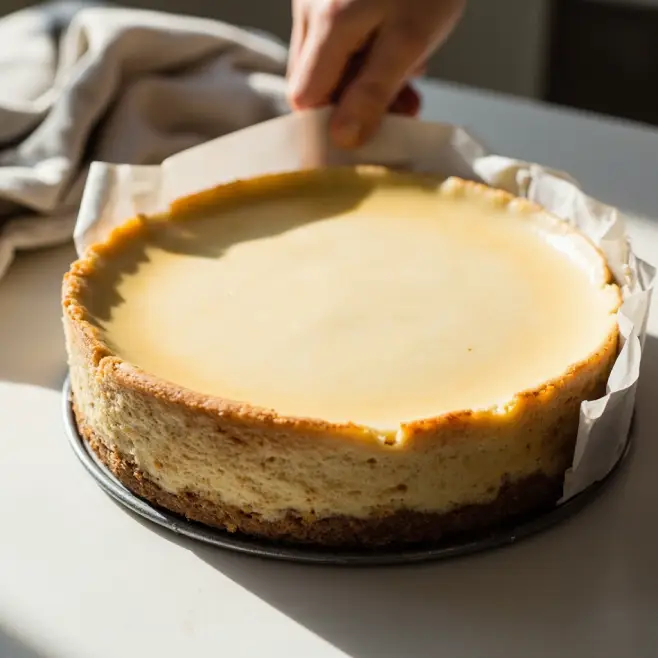
- Remove the cheesecake from the oven and water bath.
- Run a thin knife around the edges to prevent sticking.
- Let cool at room temperature for 1 hour.
- Cover and refrigerate for at least 4 hours, but preferably overnight.
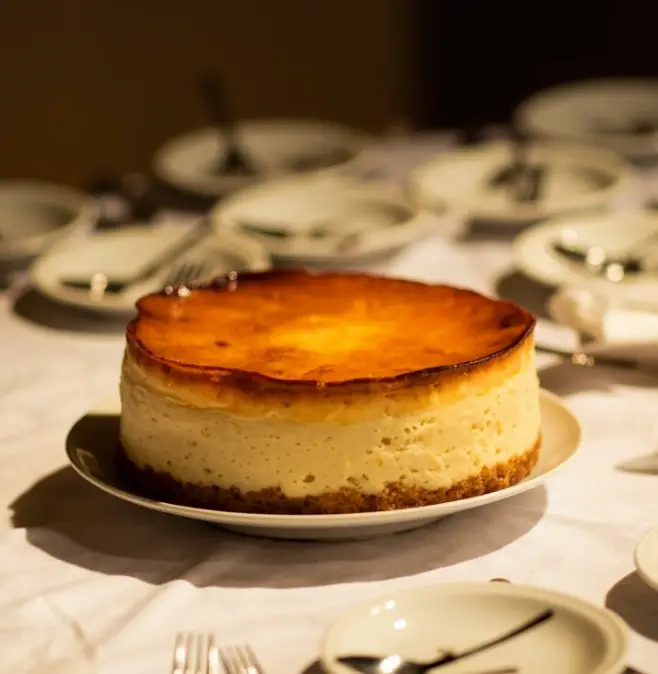
Serving Suggestions

- Fresh berries make a beautiful and tasty topping
- Drizzle with chocolate or caramel sauce
- Serve with a side of berry compote
- A light dusting of powdered sugar adds elegant simplicity
Secret #7: The Cutting Technique
For perfect slices:
- Fill a tall glass with hot water
- Dip your knife in the hot water and wipe dry
- Make one clean cut
- Wipe the knife clean and repeat for each slice
Why this works: The hot knife glides through the dense cheesecake without dragging or creating messy slices.
Storage and Make-Ahead Tips
New York cheesecake actually improves with time! The flavors meld and the texture perfects as it rests.
- Make-ahead: You can make this cheesecake up to 3 days in advance. In fact, I recommend making it at least 1 day ahead for the best flavor and texture.
- Storage: Cover with plastic wrap and store in the refrigerator for up to 5 days.
- Freezing: You can freeze the whole cheesecake or individual slices for up to 1 month. Wrap tightly in plastic wrap, then in aluminum foil.
- Thawing: Thaw overnight in the refrigerator for best results.
Conclusion
Now that you know the 7 secrets to bakery-quality New York cheesecake, you’re ready to impress family and friends with your professional-level dessert skills! Remember that perfection comes with practice, so don’t be discouraged if your first attempt isn’t picture-perfect. The beauty of homemade cheesecake is in its rich flavor and the love that goes into making it.
if you want more cake recipes check out this category
I’d love to hear how these secrets worked for you! Did you try any variations? Share your experience in the comments below. Happy baking!
Frequently Asked Questions
Why did my cheesecake crack?
Cracks usually happen when the cheesecake cools too quickly or is overcooked. Make sure to follow the gradual cooling method and don’t skip the water bath!
Can I make this without a springform pan?
While a springform pan is ideal, you can use a regular cake pan lined with parchment paper with extra hanging over the edges to help lift the cheesecake out after cooling.
Is New York cheesecake healthier than other desserts?
While cheesecake is rich in calcium from the cream cheese, it’s also high in calories and fat. Enjoy in moderation as a special treat!
Why add lemon zest?
The lemon zest doesn’t make the cheesecake taste lemony – it enhances the tangy flavor that’s characteristic of New York style cheesecake.
Can I make this recipe without a stand mixer?
Yes! You can use a hand mixer, but be extra vigilant about getting all the lumps out of the cream cheese and not overmixing.
How do I know when my cheesecake is done?
The edges should be set and slightly puffed, while the center should still have a slight jiggle – about a 3-inch diameter in the center should wobble slightly when you gently shake the pan.
My crust gets soggy. What am I doing wrong?
Be sure to pre-bake your crust for 10 minutes before adding the filling. Also, make sure your foil wrap doesn’t have any holes or tears that would allow water from the bath to seep in.